Custom Map User Guide
The Custom Map widget for LumApps allows users to display an interactive map on their platform, where they can add custom markers, such as the locations of their company's various sites. The widget is available in a freemium version, which supports one map with up to 5 markers. The premium version offers enhanced features, including unlimited markers, the ability to change the map background, customize the initial zoom level, and modify the appearance of the markers.
Available in FR/EN/DE/IT.

Prerequisites
Users: Global administrators.
Package: Professional + Marketplace add-on, or Enterprise.
Install the extension
In the Extensions library, you must click Install to configure and use the selected extension. You can search for the selected extension by name or description in the Search field. When your extension is installed, the Install button changes to Already installed.
When extensions require an update, you must click Update to update your extension.

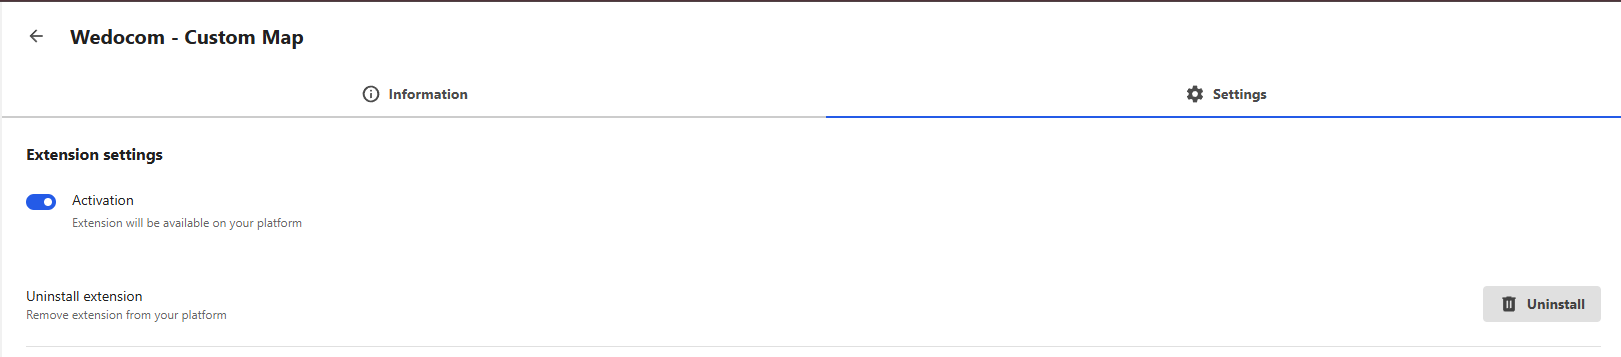
Activate the extension
The last step is to make sure the extension is activated. To activate the extension, go to the Installed extensions section of the back office and take a look at the Activation status column. You can easily see which extensions are currently activated or deactivated.
If the extension is deactivated, you must click the Details button facing the extension to open the configuration modal.
All our widgets are available for free with full functionality for a period of 30 days. After this trial period, a license is required to continue using the widget. To obtain a license, please contact us at contact@wedocom.io.
Prerequisites
Users: Global administrators.
Settings
Not all configuration settings for the widget are available here; only the section for entering your license number and the marker logo are provided.

- Licence
This option allows you to check if the license is active, which determines access to additional features of the widget.
- Custom markers
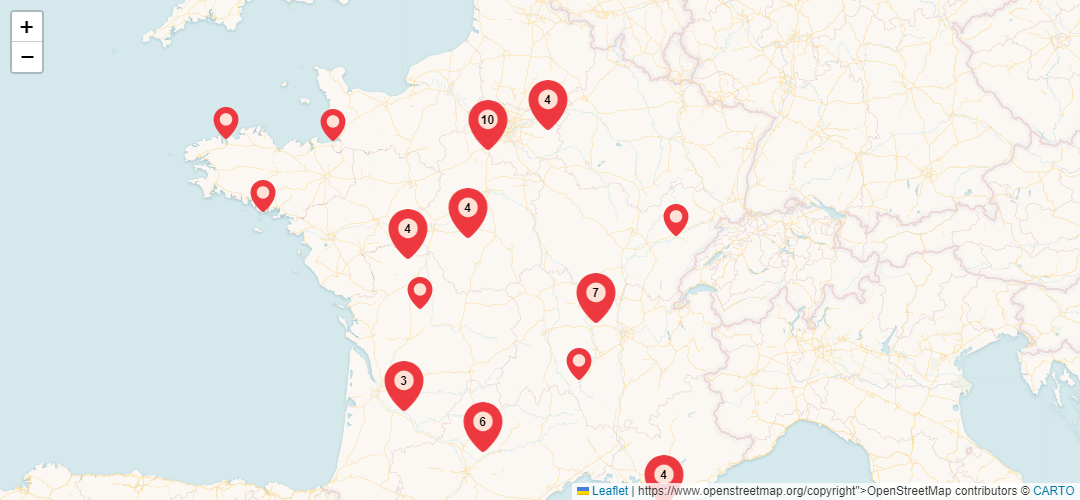
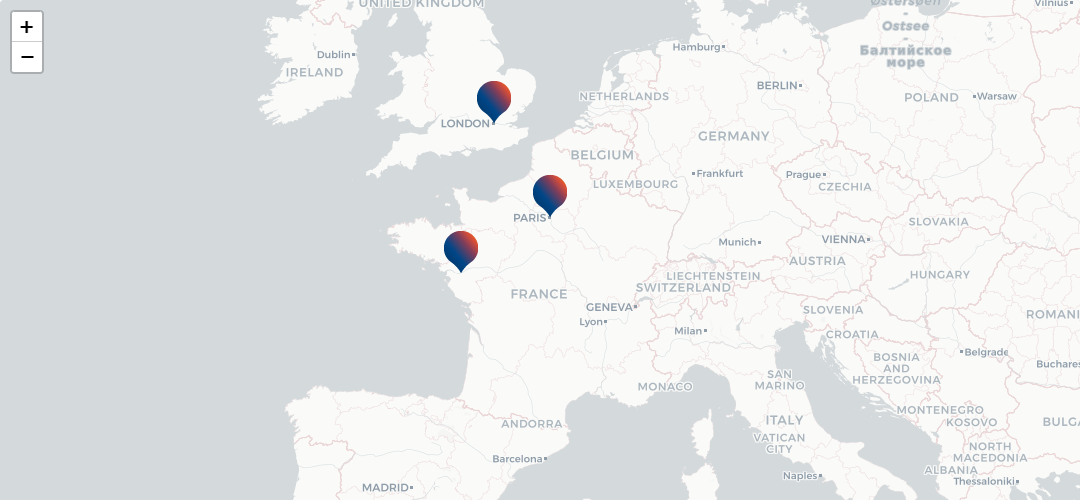
Upload an image to customize the appearance of markers on the map. The image file must be less than 8 KB in size and ideally 64x64 pixels. Note that if you use a custom marker, clustering will not show the number of points grouped together; only the default marker supports this feature.
- Reset markers
Reset the marker image to the default style. The list of points will be preserved; only the marker image will change.
Important: Remember to save your changes. Please note that modifications may not be visible immediately due to caching, which persists for 24 hours for each user. Changes will be visible either 24 hours later or instantly if you clear your browser's local storage.
Using the Map on LumApps: Once the extension is installed and configured, you can add the map to any page on LumApps. You can place the map widget on as many pages as needed, providing flexibility to display the map wherever it is most useful for your organization.
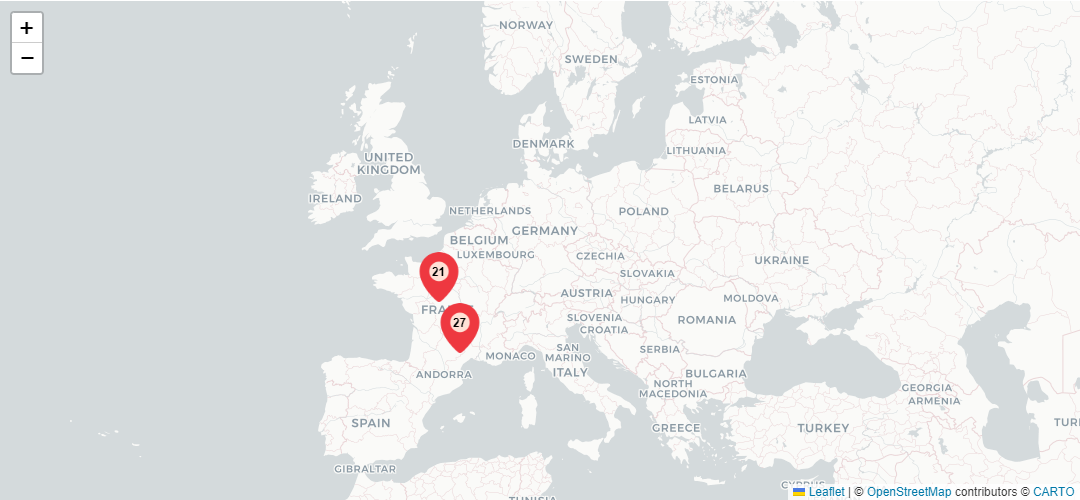
After adding the map to a page, users can interact with it by navigating around the map, zooming in and out, and clicking on markers. When a marker is clicked, a window opens displaying the marker's details, including its name, a description, and links to other pages.
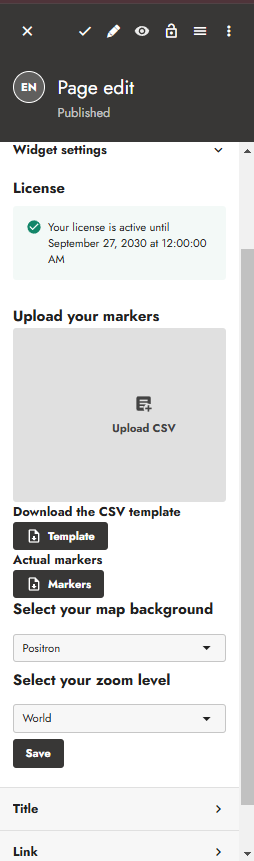
Settings
- Upload markers
Upload custom markers to display on the map. For each marker, you must specify an ID, a name, the latitude, and the longitude. The file should be in CSV format, with a comma as the delimiter. Please note that uploading new markers will remove any existing markers from the map.
- Download template
Download a template file that provides the expected format. The template will guide you on how to structure the CSV file for uploading new markers.
- Download files
Download the current marker configurations.
- Background
Change the map's background to match your preferences or branding, with options like satellite view or terrain.
- Zoom level
Set the initial map view position, which can be the world, a continent, or a specific country. This determines the default location and zoom level when the map is first loaded.
Important: Remember to save your changes. Please note that modifications may not be visible immediately due to caching, which persists for 24 hours for each user. Changes will be visible either 24 hours later or instantly if you clear your browser's local storage.
How It Works
When a marker is clicked, the following behavior occurs:
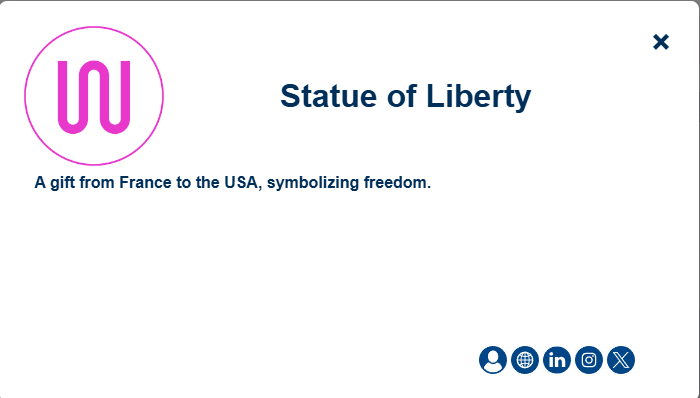
- Modal Display
If the marker's CSV data contains additional information, a modal window will open. The modal includes:
- Name: The name of the marker.
- Description: A text description of the marker.
(Note: If the description contains commas, ensure the text is enclosed in single quotes
'in the CSV file.) - Links:
- A link to a user's directory page.
- A link to a website.
- Links to social media pages, including LinkedIn, Instagram, and X (formerly Twitter).
Only the fields provided in the CSV file will appear in the modal. If certain details are not specified, they will simply not be displayed.
- Tooltip Display
If the CSV file only provides a name for the marker and no additional information, a tooltip will appear when the marker is clicked. This tooltip displays the name of the marker for quick identification.
Important: To ensure the modal or tooltip functions correctly, always verify the structure and formatting of your CSV file before uploading.
Use Cases examples
The map widget is a versatile tool that can enhance your company's intranet by providing a visual representation of important locations and data. Here are some creative ways to utilize the map widget within your organization:
- Display Company Sites
Use the map to show all the locations of your company's offices, production facilities, and other key sites. This allows employees to quickly find and navigate to different locations, fostering better communication and coordination.
- Showcase Different Branches or Subsidiaries
Highlight the locations of various branches or subsidiaries across regions. This can help employees understand the geographical spread of your business and facilitate collaboration between different parts of the organization.
- Visualize Sales Territories
Plot out sales territories on the map to help your sales team visualize their coverage areas. This can assist in strategic planning and help optimize sales efforts.
- Map Out Client Locations
Display the locations of important clients or partners. This can be useful for account managers to understand client distribution and plan visits or support activities effectively.
- Track Company Events
Use the map to mark locations where company events, training sessions, or conferences are held. Employees can easily find event locations and plan their attendance.
- Monitor Project Sites
If your company is involved in multiple projects across various locations, use the map to track these project sites. This helps in keeping everyone informed about the progress and status of each project.
- Show Facility Amenities
Highlight key amenities or features within your company’s facilities, such as meeting rooms, dining areas, or recreational spaces. This can help employees navigate the facilities more effectively.
By integrating the map widget into your intranet, you can provide a dynamic and interactive way for employees to access important location-based information, enhancing overall efficiency and connectivity within your organization.
Frequently Asked Questions
How can I get support for this widget?
For any support, you can contact support@wedocom.io or visit our tool to create your ticket.
Our teams will strive to respond as quickly as possible.
Can I suggest improvement ideas for this widget?
All ideas are welcome, so feel free to contact contact@wedocom.io
Is it possible to have this widget in a customized version?
We can certainly customize the card to your liking by adding information to the markers or other elements. Feel free to contact contact@wedocom.io
What is the Map Widget?
The Map Widget is a versatile tool designed to display locations and markers on a map within your LumApps platform. It allows you to visualize various points of interest, such as company sites, branch locations, or client addresses.
How do I install the Map Widget?
To install the Map Widget, follow the installation instructions provided with the widget package. Once installed, you can configure it according to your needs and add it to any page within LumApps.
How do I configure the Map Widget?
Configuration options for the Map Widget include setting the map's background, adjusting the zoom level, and customizing marker appearances. You can access these settings from the widget's configuration page. Note that some features may be limited if no license is activated.
What are the differences between the Freemium and Premium versions?
The Freemium version of the widget allows you to display up to 5 markers and does not support changing the map background, zoom level, or marker appearance. The Premium version, however, provides unlimited markers and full customization options. To upgrade to the Premium version, please contact contact@wedocom.io.
How do I upload markers to the map?
You can upload markers by providing a CSV file that includes an ID, name, latitude, and longitude for each marker. The file must use commas as delimiters. Note that uploading new markers will replace any existing markers on the map.
Can I download the marker data?
Yes, you can download the current marker configurations as well as a template file for the CSV format. This template will help you format your data correctly for future uploads.
How do I use the map on LumApps?
After installing and configuring the widget, you can add it to any page within LumApps. You can place the map widget on as many pages as needed. Users can interact with the map by navigating, zooming, and clicking on markers to view their names.
What should I do if changes are not visible immediately?
Changes may not be visible immediately due to caching, which persists for 24 hours for each user. To see changes instantly, you can clear your browser's local storage. Remember to save your modifications to ensure they are applied.